Techniques
This is a concise overview of the equipment and processes I use to create a Large Format Silver Gelatin Photograph, including the large-format view cameras, precision lenses, sheet film, darkroom enlargers, and chemistry for development and toning.
Realizing that many visitors to this site are photographers themselves, here are the answers to some of the questions I am most frequently asked:
I) Camera Bags
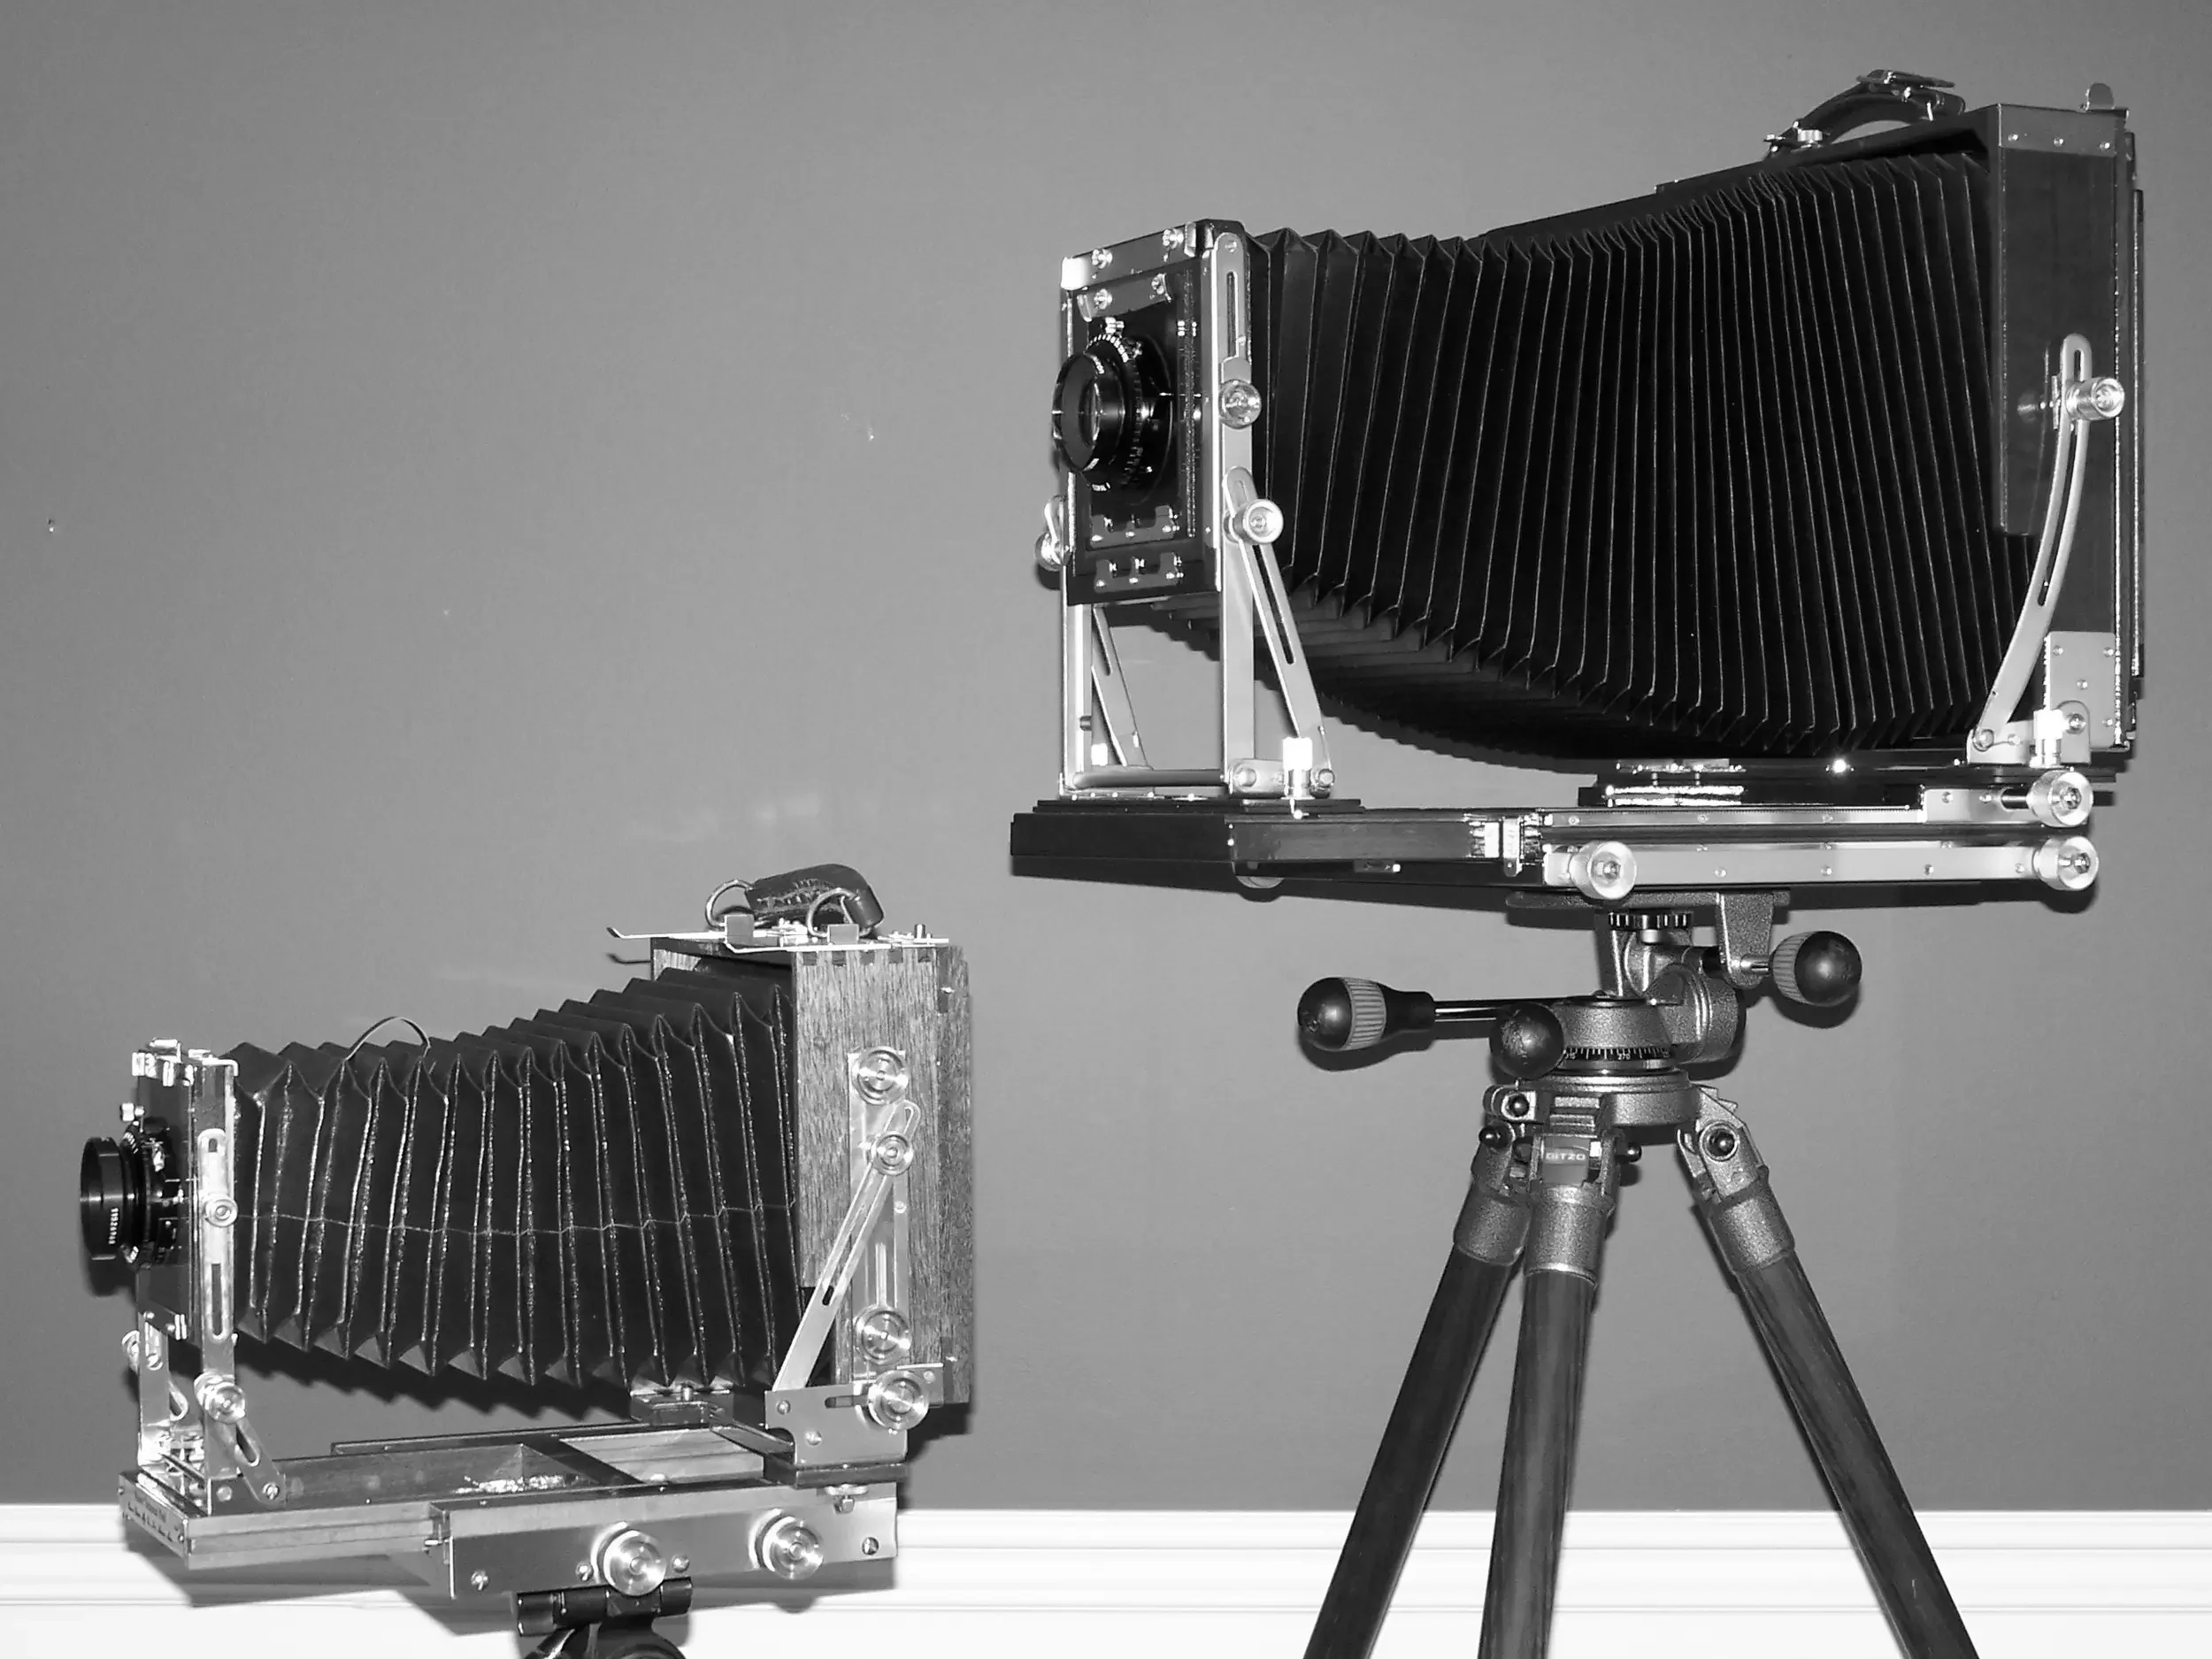
The cameras I use are a Wisner 4 X 5 Technical field camera or my Tachihara 8 X 10. My bags contain five lenses each: 90mm, 150mm, 210mm, 300mm and 450mm for the 4 X 5 and the 8 X 10 lenses are: 240mm, 300mm, 450mm and 600mm. The bellow extension on the Wisner is capable of handling the 450mm without too many problems. The Tachihara has triple extension which adds a bit of weight but on occasion the the extra bellows length is crucial.
As you can see from much of my work, I tend to favor isolating my subject versus viewing the grand panorama. Bellows extension is a critical factor in these situations.
Of course, I have to carry a wide gamut of filters most commonly used in black & white photography to enhance the tonal separation.
My tripod is a Gitzo, with a low-profile pan head or Acratech Ball Head. This tripod, made of carbon fiber, a bit pricey, but as you can see from the assortment of lenses being hauled about, total weight is always an issue.
II) Film
Most of my images are taken on Ilford HP5 film rated at an ISO of 400 for normal development. I spot meter my subject and determine which development will be needed as in normal, plus or minus, altering the film speed accordingly. I generally carry ten film holders, for the 4 X 5 camera, allowing twenty images on a one day outing. (I don't think that in my years of photographing, that all twenty sheets of film were ever exposed in one day but I can always dream.) With the 8 X 10 camera, I carry six film holders (12 sheets of film). The 8 X 10 Tachihara view camera is my camera of choice. Working with a negative of this size is a true pleasure.
III) Darkroom
Where the rubber meets the road.
I will break this down in three basic steps, skipping all the little steps that fall in between.
A) Film Development
A Jobo processor is used for the development of the negatives. I am currently using developer D76H (similar to Kodak's D76).
A note on darkroom chemicals. Due to the increased wide-spread interest in digital photography and decrease in traditional photography, I started mixing all of my own soups from raw chemicals many years ago. In an effort to keep from having to re-test film speeds, development times, etc., should a premixed product be discontinued due to lack of demand.
B) To Mask or Not
After development of the negative, I then determine if any masks will be beneficial for the finished print. Several masks may be used for one print.
Most often an unsharp mask is utilized to enhance the sharpness and detail of the image. Ilford's FP4 film is used for the unsharp mask which is developed in the Jobo.
A "sharp" mask may be employed. Some of these masks are used solely to affect certain tonal values in the print. These include Highlight masks, Shadow increase or decrease masks, and Fog masks. All of these sharp masks are made from Kodak's Kodalith film or Arista II Litho Ortho film and developed in trays. The benefit of using ortho films is that the safe light stays on during the mask making process.
One other mask is the Dodge/Burn Mask. This is a translucent sheet of drafting film that can be penciled on to "dodge" or cut out to "burn" specified areas on the print. This is quite a useful tool for exacting areas that can't be manipulated with the standard dodge/burn tools.
C) The Print
My paper of choice is Ilford Classic fiber base. I develop the majority of prints in Ansco 130. My enlarger for the 4 X 5 negatives, a Saunders 4550 VCCE, is a real treat due to the contrast control capabilities. The 8 X 10 negatives are printed on an old 8 X 10 Elwood stripped down to the chassis then re-fitted with an Aristo V-54 Cold Light. Ilford Multigrade Filters (12" X 12") are used directly below the cold light and above the negative for contrast control.
I have modified my enlargers somewhat, in order to register the negative and masks. For example, the negative and let's say an unsharp mask are registered on the negative carrier. Then, the entire negative carrier is registered in the enlarger. This allows me to remove the negative carrier from the enlarger after exposing the paper. I can then remove the negative, replace with a sharp mask, re-install the carrier in the enlarger and continue with additional exposure through the sharp mask. (This allows for perfect registration unless I bump the easel.)
I use a seven tray (seems excessive) method of processing the print. The line up includes developer, stop bath, water rinse, alkaline rapid fix, second alkaline rapid fix, hypo clear, and lastly selenium toner. The print is washed, then dried on a screen.
That's the process in a long winded nutshell. If you have any questions just drop me a line and I will be happy to talk shop.
Wisner 4 X 5
Tachihara 8 X 10